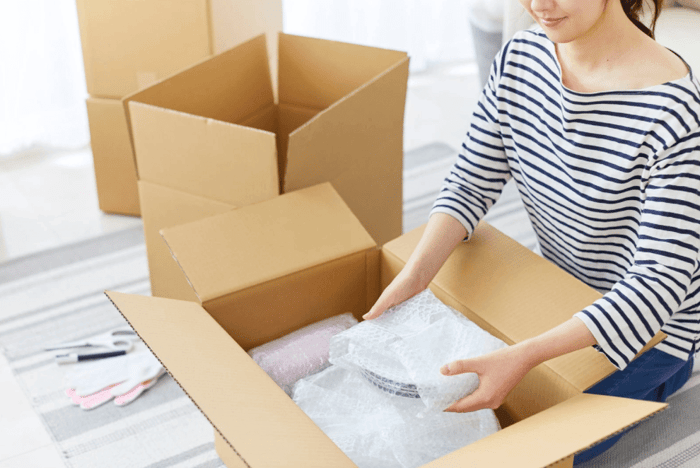
Renting a storage unit is one of the smartest moves you can make when you're downsizing, moving, decluttering, or just finally dealing with that garage. But here's the thing most people don't think about until they're elbow-deep in unlabeled boxes at 7pm on a Tuesday: labeling storage boxes matters just as much as finding the right storage unit.
A well-labeled storage unit can save you hours of searching. A poorly labeled one? That's a frustrating game of "what's in here again" every single time you visit. So before you start stacking boxes, here are 10 practical tips on labeling storage boxes for easy access later.
1. Write on Multiple Sides
This one seems obvious, but it's almost universally ignored. When boxes get stacked, the top label disappears. Write on at least two or three sides of every box so you can identify it no matter how it's positioned or how deep it's been buried in the unit. For a stack of ten identical brown boxes, this alone will save you a massive headache.
2. The More Specific, the Better
Vague labels often give you an idea of which room to bring the moving box into, but that won’t help you when you urgently need socks, utensils, or toiletries within the first day or two of unpacking. Instead of writing "Kitchen," try "Kitchen: Baking supplies, mixing bowls, muffin tins." The more detail you include up front, the less guesswork you'll do later. A good rule of thumb: if you can't picture what's inside from reading the label alone, add more detail.
3. Use a Color-Coding System by Room or Category
When labeling storage boxes, grab a set of colored markers or sticker dots and assign a color to each room or category, for example:
Red: Unpack First
Blue: Kitchen
Green: Clothes
Yellow: Seasonal/Holiday
Orange: Office
This creates a visual system you can scan from across the room, making it much faster to locate what you need without reading every single label.
4. Number Your Boxes and Keep a Master List
Pair every box number with a detailed inventory list, either in a notebook or a notes app on your phone. Box 14 might say "bedroom linens, spare pillows, duvet covers." Box 27 might be "tax documents 2019–2022."
This takes a little extra time upfront, but it transforms your storage unit into a searchable system. When you need something, you check the list, find the box number, and go straight to it. Simple.
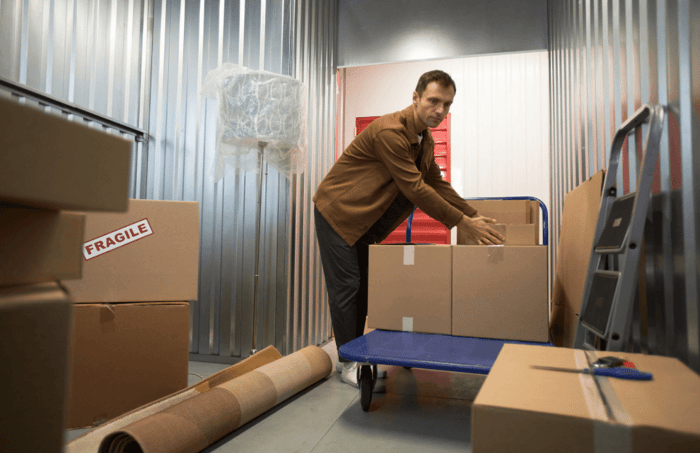
5. Label Fragile Items Clearly on Every Side
For anything breakable, don't just toss "FRAGILE" on the top. Label all four sides and the top. This is especially important when boxes get moved around or rearranged. Whoever is handling them (including future you) needs to see that warning no matter which way the box is turned. You can also add an arrow pointing up to indicate which side should face up.
6. Note the Weight on Heavy Boxes
A quick "HEAVY" label on a box packed with books or tools sets expectations before someone tries to lift it and throws out their back or drops something on their foot. It can also help you prioritize which boxes to move on your own versus which to save for the dolly. For extra clarity, jot the approximate weight if you know it. Your back will thank you later.
7. Use a Permanent Marker
Storage units can get dusty and humid over time, and that faint pencil scrawl you made at 11pm is not going to age well. Always use a thick permanent marker (like a Sharpie) in black or dark ink for maximum readability. Avoid pen, ballpoint, or anything water-soluble. For longer-term storage, consider clear packing tape over the label to protect it from moisture and smudging.
8. Label What You'll Need Most Often Near the Front
If you don't have time to clearly label every box, think strategically about access before you start stacking. Boxes you'll rarely touch (old tax returns, holiday decorations, childhood memorabilia) can go in the back with less detailed labeling. But anything you might need to grab every few months should be front and center, clearly labeled, and easy to reach.
A few categories worth keeping accessible:
Seasonal clothing (winter coats, summer gear)
Sports or hobby equipment used regularly
Important documents you may need to reference
Tools or household supplies
9. Include the Date for Long-Term Storage
If you're planning to store items for months or even years, add the date you packed each box. This helps you track how long things have been in storage and decide what's still worth keeping when you eventually go through it all. It's especially useful for things like seasonal clothing, kids' items that get outgrown, or anything you're storing "just in case."
10. Take a Photo of Each Box Before Sealing It
After labeling storage boxes, snap a quick photo of the contents before you close the flaps. Keep these in a dedicated folder on your phone or in a shared cloud album. This visual inventory is a game-changer, especially for boxes packed with lots of small items that are hard to describe in words. It takes about 10 seconds per box, and when you're searching for that one specific thing months later, you'll be very glad you did it.
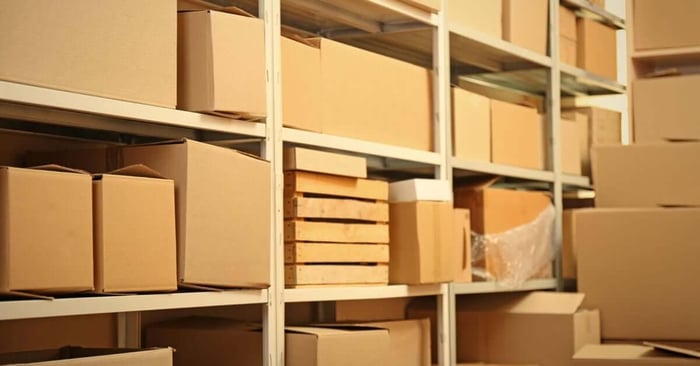
Make the Most of Your Storage Unit
Good labeling only works if your stuff is stored somewhere worth coming back to. At Bluebird Storage, we offer secure, accessible self-storage facilities across Canada, from British Columbia to Nova Scotia, Alberta, Quebec, Ontario, and beyond. Enjoy drive-up units, indoor loading areas, and extended access hours so you can get to your belongings when you actually need them.
Whether you're storing a few boxes or an entire household, Bluebird makes it easy to find the right size unit, with no rent increases for 365 days and a 7-day risk-free trial so you can get settled in with zero stress.
Ready to get organized? Find a Bluebird Storage location near you to get started today!